DESIGO V4 3rd Party LON Integration Process Part-1
In this Article we going to discuss about Siemens DESIGO V4 3rd Party LON Integration into PX Step by Step Guide Part -1
Topology
- Depending on whether the BACnet communication is over LON or over IP, a PXC00.D or a PXC00-E.D will be used respectively.
- An additional module PXX-L11 (up to 60 LON devices) or PXX-L11 (up to 120 LON devices) is used together with the controller for the field device communication.
- The same topology applies for the 3rd party LON device integration.
- When more than 60 LON devices are connected to the network you will need to add a LON router or LON repeater to split the LON bus in different LON segments.
- The distance limitation of a LON segment is 900 m with a serial topology or 450 m if you are using a free topology.
- To extend the distance you can use a LON router or Repeater.
- The maximum number of repeaters in a LON bus is 1 and the maximum number of repeaters is 4.
Do not forget to use LON Bus Terminators :
Software
Following tools need to be installed in the commissioning PC
- Xworks Plus (XWP)
- RXT10.3
- Marlon Tool
- RXT10.3 tool is used at field level to engineer and commission the RXCs.
- Xworks Plus is the automation level engineering tool used to engineer the PX controller.
- Marlon tool will only be used to obtain the types of CFC IO blocks that will have to be used in Xworks Plus to integrate the LON network variables.
Steps :
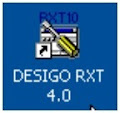
- Start the RXT10.3 tool from the icon on the desktop.The RXT10 tool starts
 |
| 1 |
- Create a project by selecting Project, New from the menu.
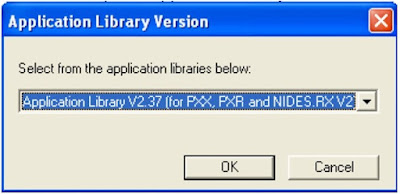
- Select the required application library, V2.37 for new projects.
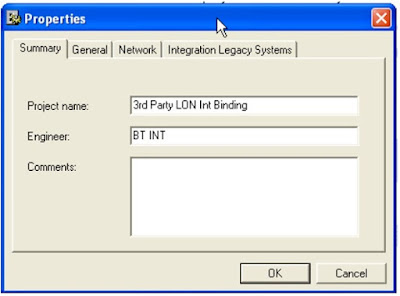
- Add the name and details of the project in the summary tab and press OK.
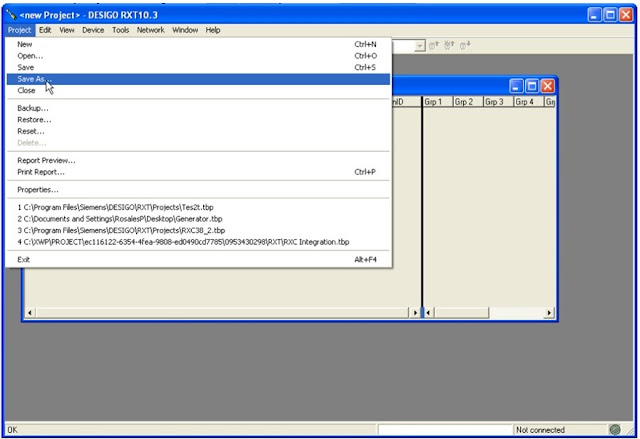
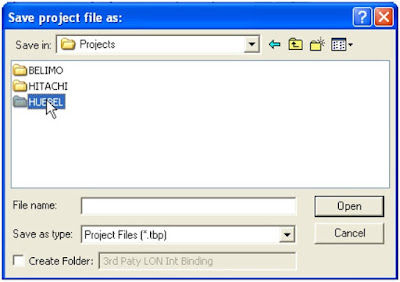
- Save the project using the Save As option from the menu.
- Create a new folder with a suitable name under the RXT10 Projects folder. This can be found on
- C:\Program Files\Siemens\DESIGO\RXT\Projects.
- Open the new project folder (example: HITACHI) with a double-click.
- Write file name for the your RXT10 project file.
- You can maximize the project list view for easy engineering.
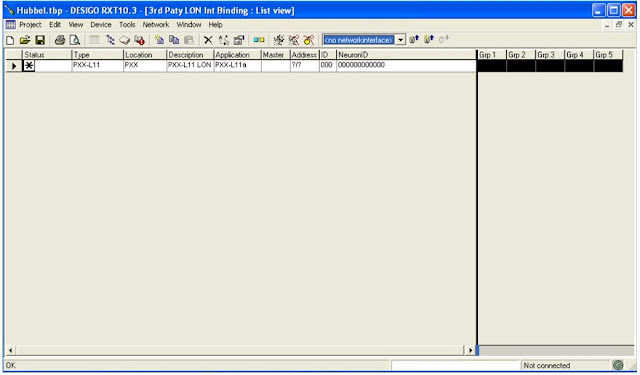
- Now RXTool window should look like this.
- Add PXX-L* device to the project.
- Write a suitable Location and Description for the PXX module.
- These data will be imported into XWP.
Note:
- Remember not to use any other characters than a-z, A-Z or 0-9 in the Location field. Otherwise you will not be able to export the XWP data later on.
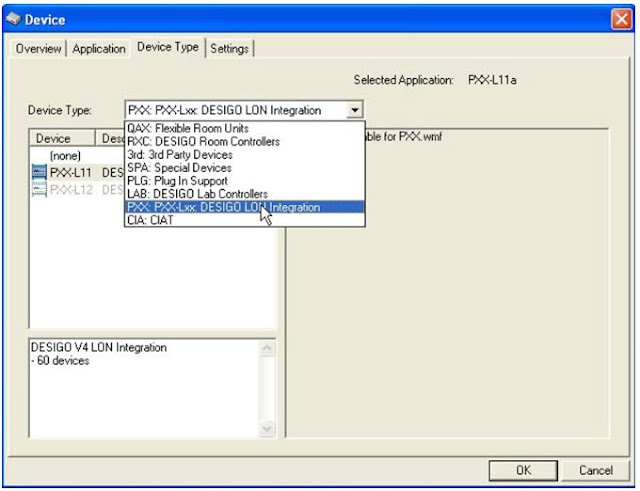
- Go to the Device Type tab and choose the PXX –Lxx LON module type from the device type list box.
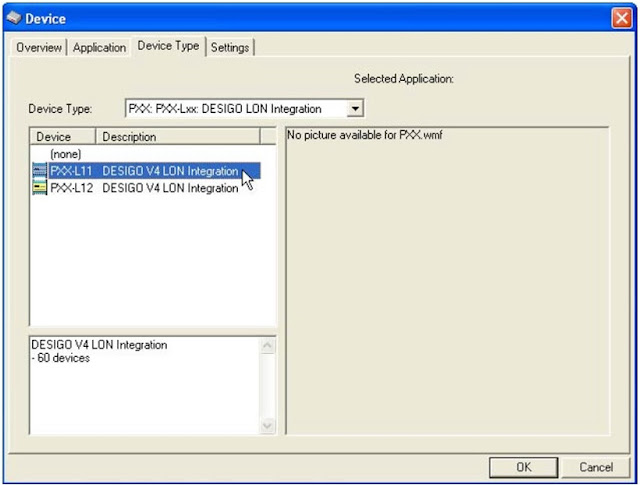
- Then select the correct PXX-Lxx module: PXX-L11 or PXX-L12.
- Press OK. The screen should now appear similar to this.
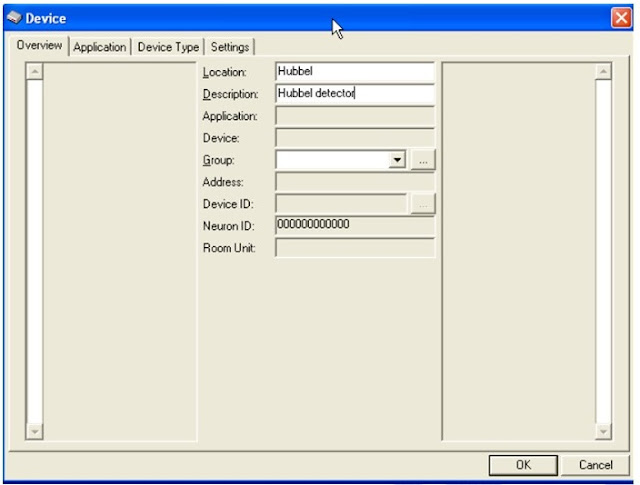
- Now add the LON 3rd party device as follows.
- Fill in the Location and the Description
Note:
- Remember not to use any other characters than a-z, A-Z or 0-9 in the Location field.
- Otherwise you will not be able to export the XWP data later on.
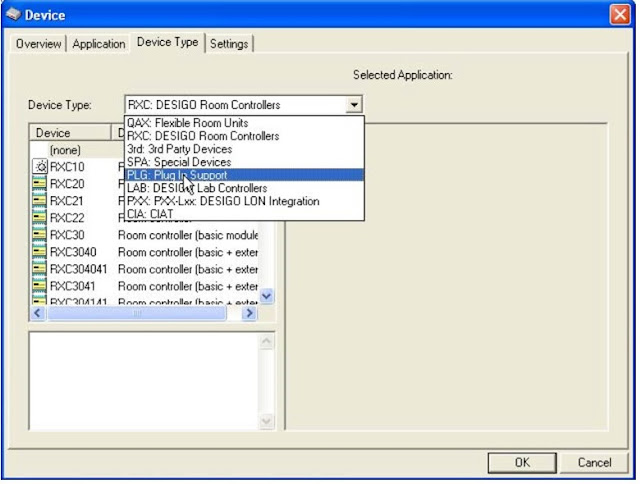
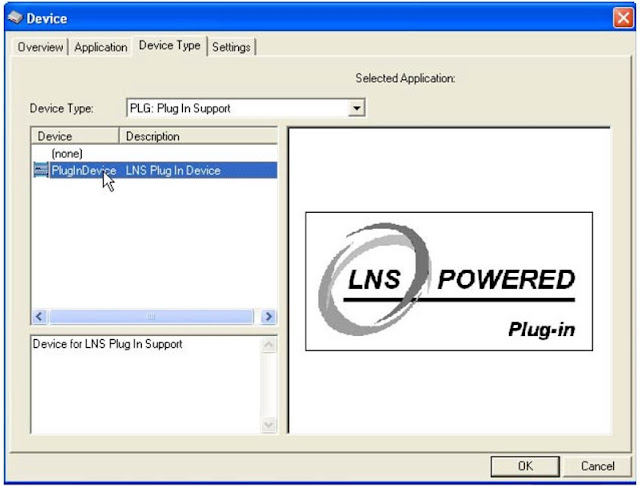
- Select “Plug In Support” as Device Type.
- Press OK.
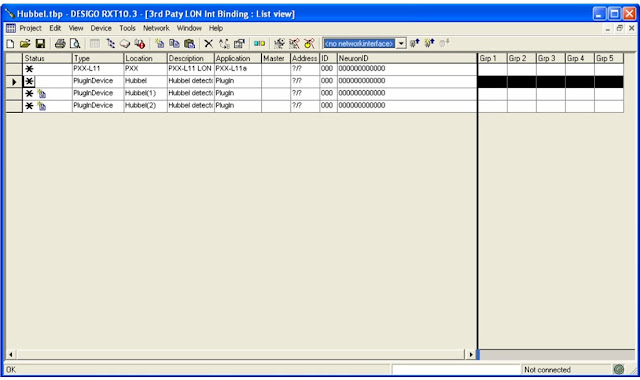
- Your screen will now look like this.
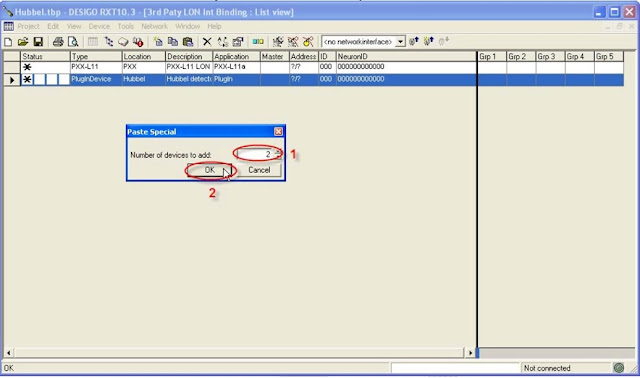
- If you want to add more than one 3rd party device you can use the Copy and Paste Special functions.
- Choose the number of devices you want to add and press OK.
we will see the balance Steps of DESIGO V4 3rd Party LON Integration Process in Part-2 Article.
If you need more informative Article please follow our Blogger. Thank you for Visit our Blog.
Have a great day.












Comments
Post a Comment